How to Prevent Concrete Patio Problems on Lafayette Properties
Summary
A durable Lafayette concrete patio begins with controlled drainage, stable soil preparation, planned joints, suitable concrete, careful curing, and routine water management. Property owners can reduce settlement, random cracking, slick surfaces, and premature wear by making the right decisions before the pour and responding early when conditions change.
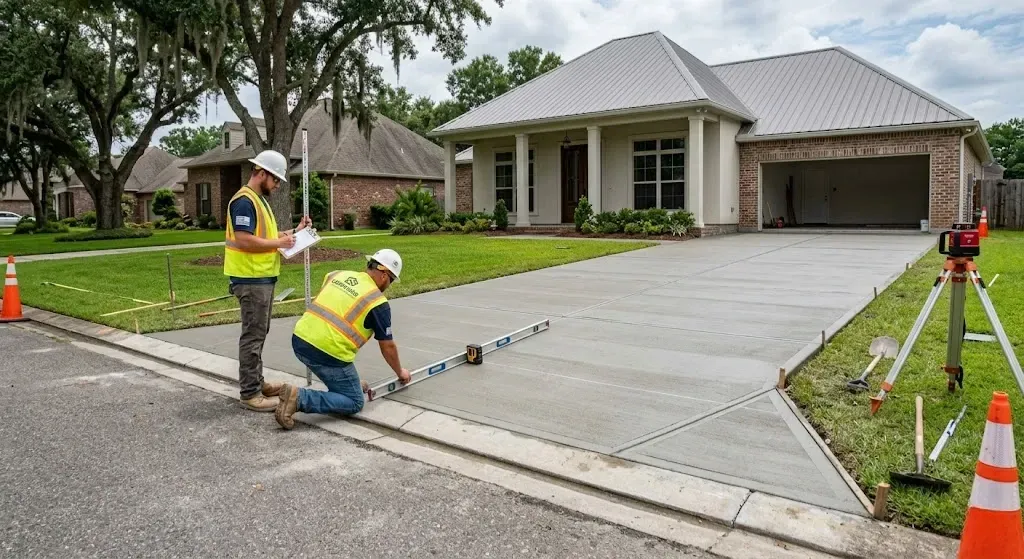
A patio can look excellent on installation day and still develop problems if drainage, ground preparation, joints, or curing receive too little attention. Lafayette's frequent rain and long hot season make those details especially important. Anyone comparing concrete patio installation and repair services in Lafayette should ask how the entire slab will perform, not only how its surface will look.
Led by a third-generation Louisiana concrete finisher with more than 20 years of hands-on experience, T&T Lafayette Concrete Contractors uses concrete rated at 3,000 PSI or higher. Concrete strength, however, cannot compensate for unstable ground, trapped water, poor joint planning, or inadequate curing.
Give Rainwater a Clear Route Away
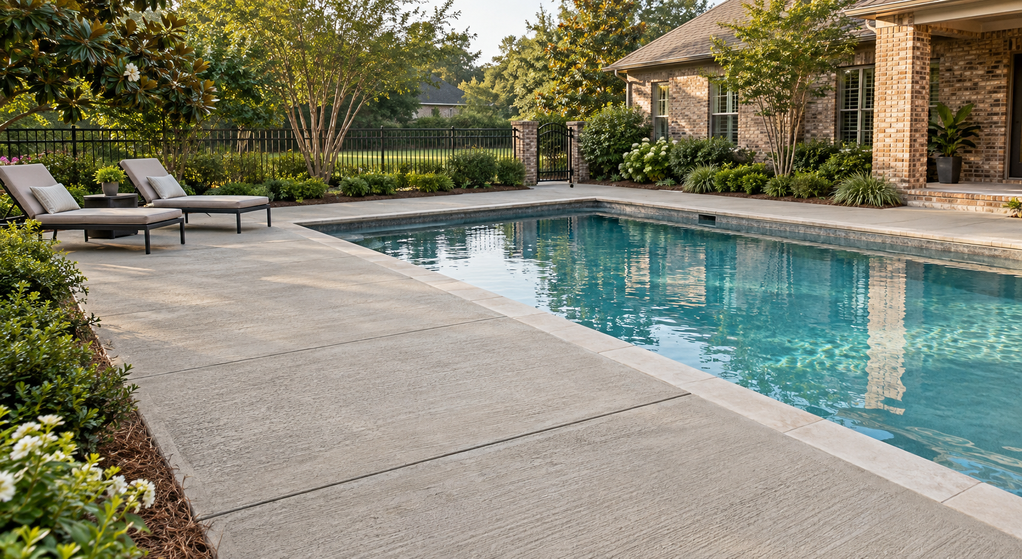
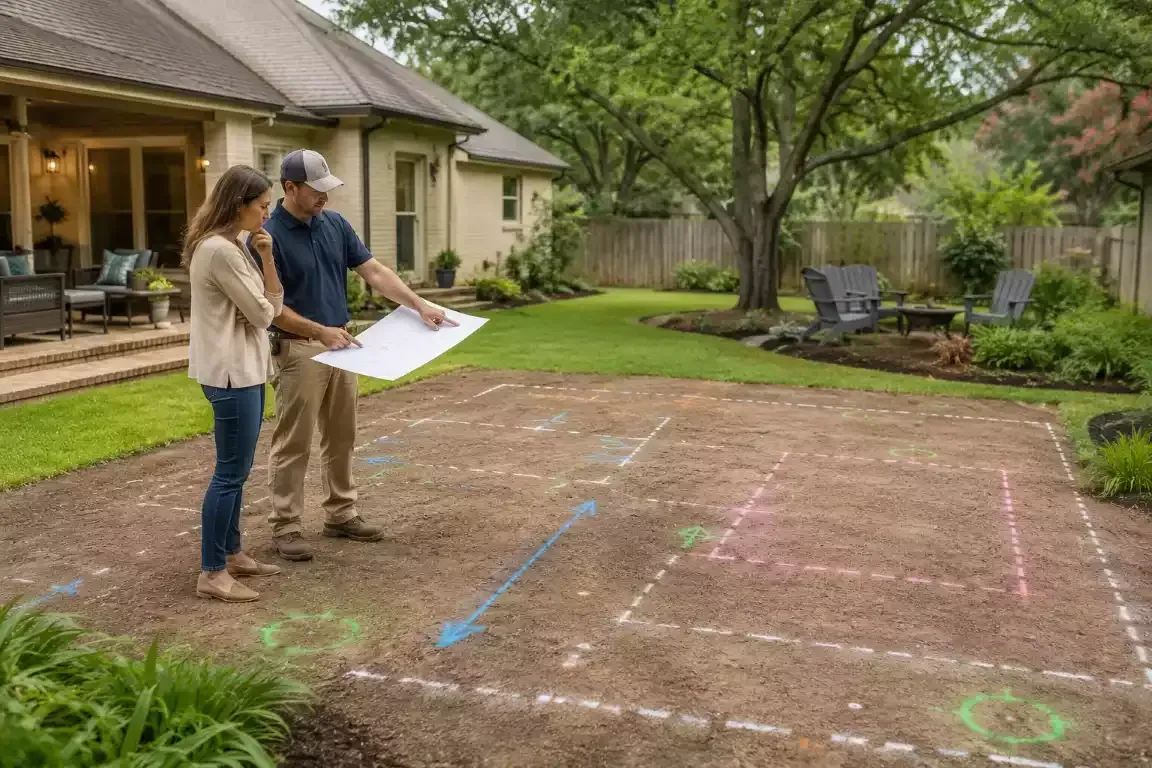
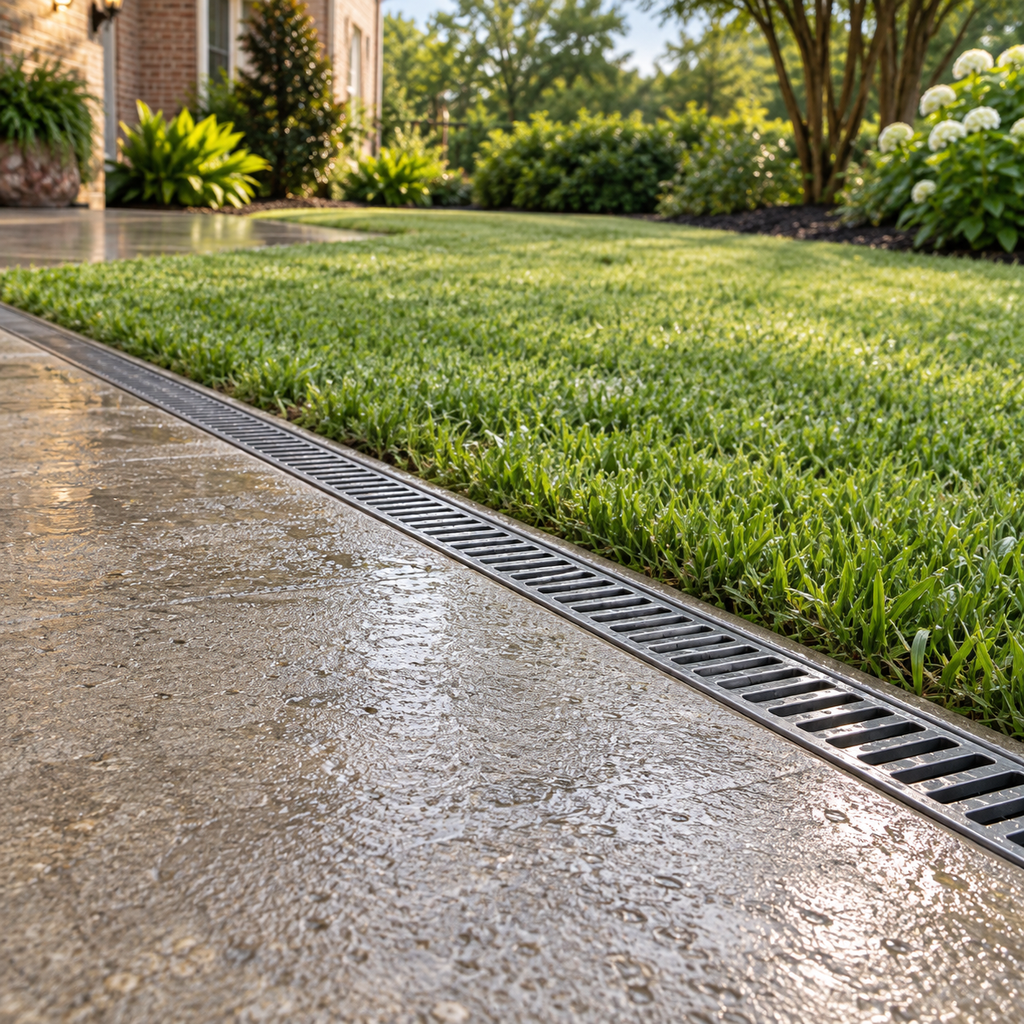
Patio drainage begins with elevation. The finished slab should direct water away from the house and toward a suitable outlet without sending runoff into a low spot, across a walkway, or onto an adjoining property. The correct slope depends on the patio finish, surrounding grades, doors, foundation, and discharge point, so it should be established before forms are set.
Check downspouts, roof valleys, air-conditioning discharge, and irrigation too. Even a correctly sloped patio may stay wet if water repeatedly enters at its edge. Observe the yard after rain and mark where water enters, ponds, and exits.
After installation, keep drains and discharge paths clear. Soil, mulch, leaves, or a raised landscape bed can eventually block an outlet that originally worked.
The guide to what Lafayette homeowners should know before adding a patio expands on drainage, utilities, future features, and other pre-pour decisions.
Build on Uniform, Well-Prepared Ground
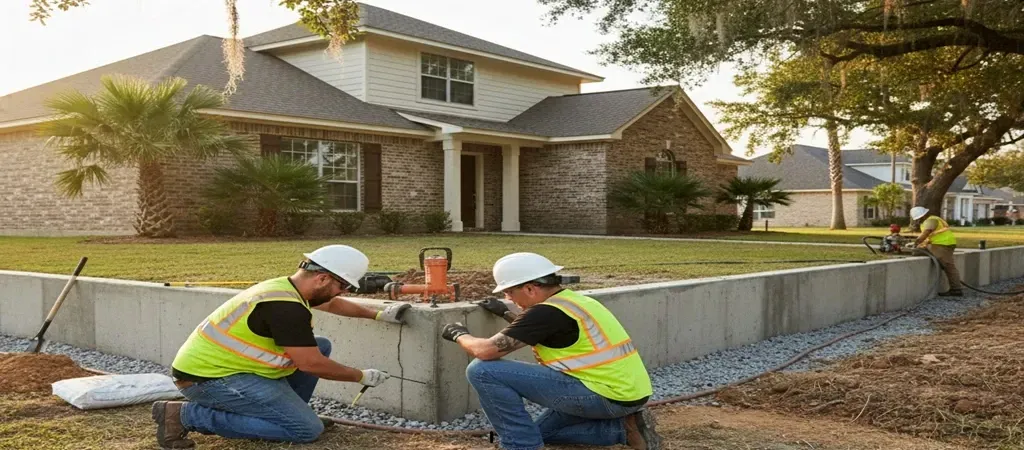
Topsoil, roots, muddy soil, and loosely filled low areas can compress or wash out, leaving sections of the patio unsupported. Preparation may require excavation, removal of soft spots, controlled filling, compaction, and an appropriate base. The required depth and material depend on the site.
Pay particular attention where the patio crosses an old garden bed, removed tree area, utility trench, or recent fill. Reinforcement may help hold a crack together, but it does not correct movement underneath the concrete.
Plan Joints Before Concrete Arrives
Concrete naturally changes dimension as it loses moisture and responds to temperature. Contraction joints create planned locations for shrinkage cracks, while isolation joints allow a patio to move separately from walls, columns, steps, and other restraints. Corners, narrow sections, and L-shaped areas deserve careful layout because they concentrate stress.
The National Ready Mixed Concrete Association’s guidance on joints in concrete slabs recommends planning joint locations before construction, keeping panels square or nearly square, and cutting or tooling joints at the proper depth and time. Joint spacing and timing should be matched to slab thickness, layout, concrete setting conditions, and the chosen jointing method.
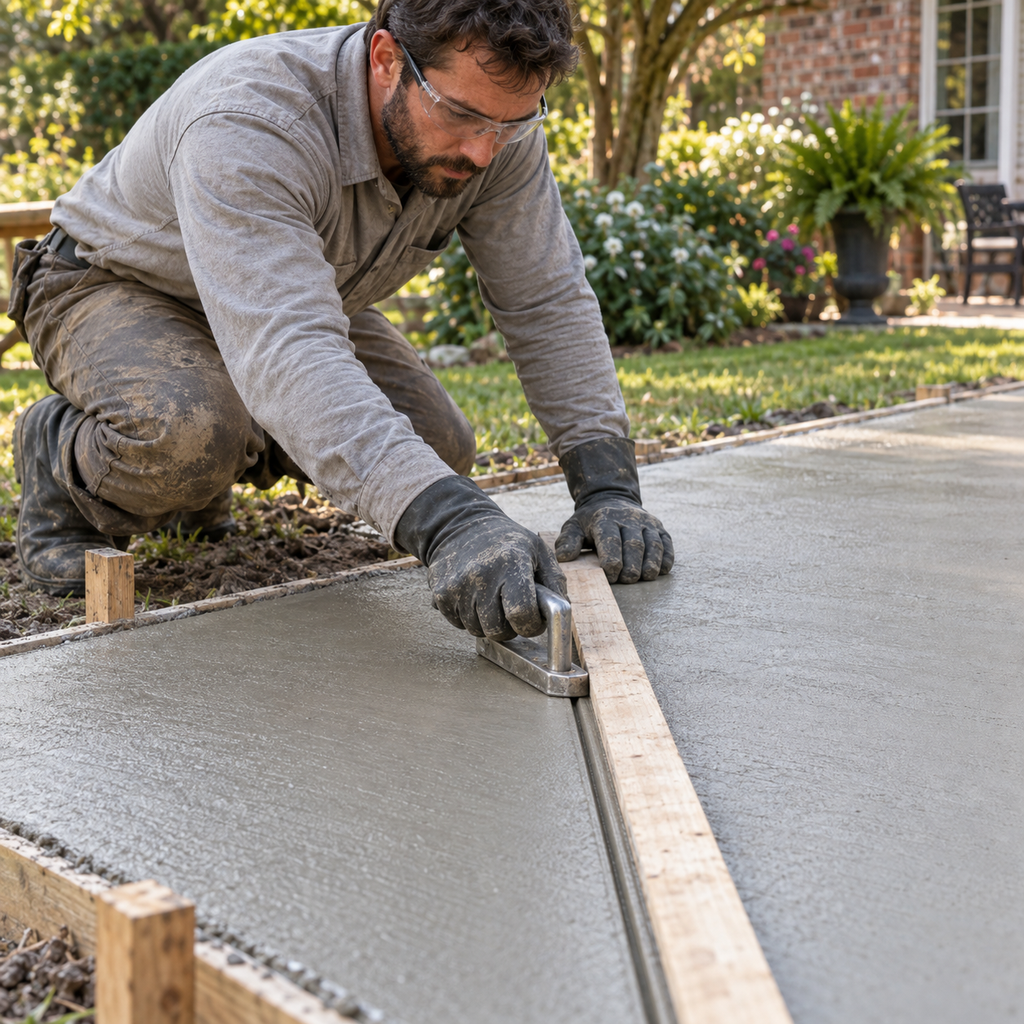
Random cracks cannot be ruled out completely. The practical goal is to reduce them and encourage movement at deliberate, maintainable locations.
Match the Pour and Finish to Lafayette Conditions
A mix's PSI rating is not a complete durability specification. Placement, finishing, reinforcement position, joint execution, and curing also affect performance. Adding water simply to ease placement can reduce strength and increase shrinkage.
Weather also affects the sequence. Concrete should not be placed on saturated, unstable ground, and an exposed pour needs a plan for heat, direct sun, wind, and approaching rain. Finishing while bleed water remains at the surface can contribute to a weak top layer. Curing should begin promptly after finishing and follow the method and duration specified for the mix and conditions. A deeper explanation of how expert planning and project knowledge improve concrete durability can help owners evaluate these less-visible parts of a proposal.
Finish selection introduces another tradeoff. A smooth or glossy surface can become slick when wet, while a broomed or appropriately textured finish generally provides more traction. Before choosing decorative concrete or a sealer, consider slip resistance, cleaning needs, color stability, and recoating requirements.
Control Water and Wear After Installation
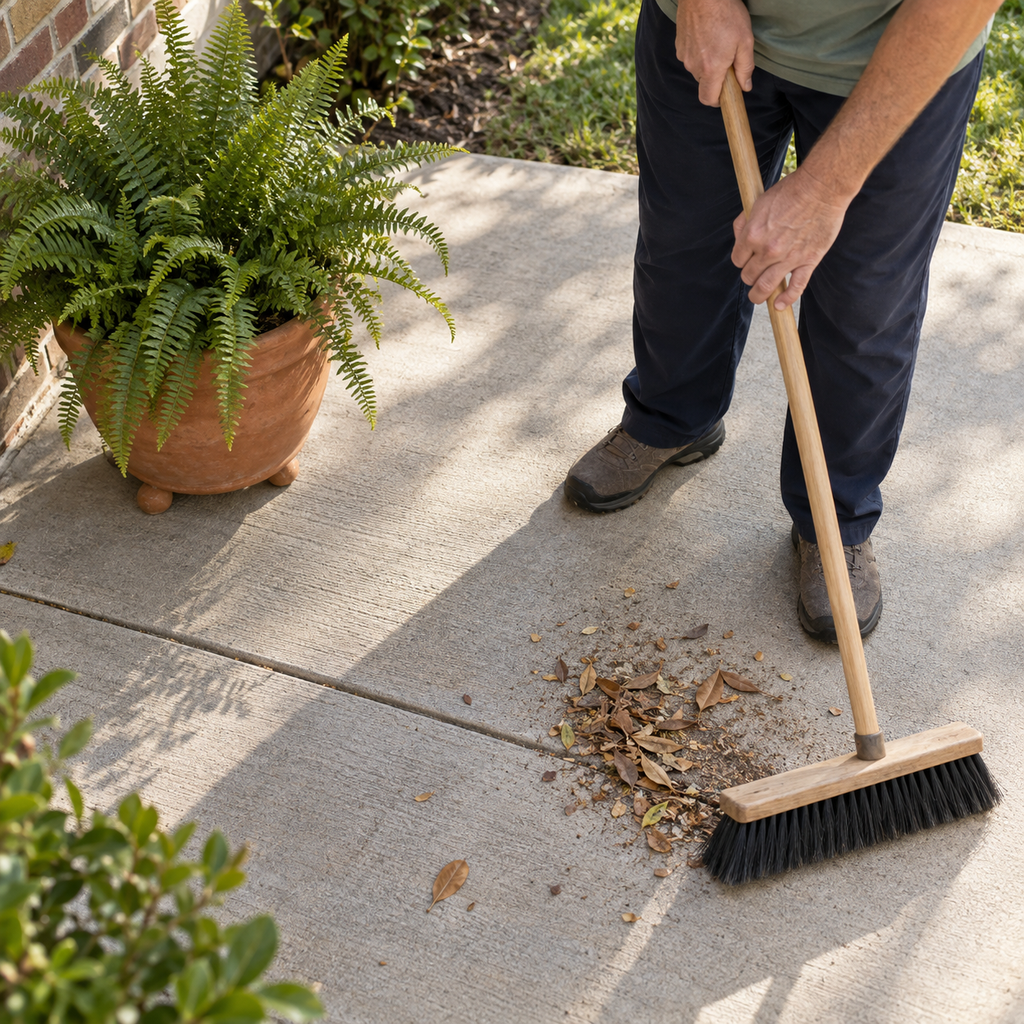
Sweep away abrasive grit, clean spills before they set, and use a cleaner compatible with the concrete and any sealer. Aggressive pressure washing can etch the surface or damage a coating.
Keep planters and mats from trapping moisture. Check that irrigation has not shifted toward the slab and erosion is not undermining an edge. Follow the sealer manufacturer's maintenance guidance rather than a fixed calendar because overapplication or incompatible products can cause cloudiness, peeling, or slipperiness.
Watch Small Changes Before They Become Larger Repairs
Inspect the patio after heavy rain and periodically through the year. Photograph cracks with the date, measure them at the same points, and note whether the two sides remain level. Also look for recurring puddles, crumbling joint edges, flaking, rocking sections, gaps beside steps, and soil washing away at the perimeter.
A narrow, stable crack may only need monitoring or a suitable repair. Widening cracks, vertical displacement, repeated ponding near the house, widespread surface failure, or settlement that creates a trip edge deserves professional evaluation. Coating or filling a crack before correcting drainage or ground movement may hide the symptom while the cause continues.
Make Prevention Part of the Project Scope
Before approving a patio project, request a written scope that addresses final elevations, runoff destination, excavation, base preparation, concrete specification, reinforcement, joint locations, curing, weather contingencies, and cleanup. Confirm how future covers, posts, utilities, outdoor kitchens, or screened enclosures affect the design before concrete is placed.
When drainage, support, jointing, placement, curing, and maintenance work together, a Lafayette property owner has a better chance of avoiding premature repairs and keeping the outdoor space safe and useful.

Written By:
Kurt Manalastas
Home & Property Research Journalist
Kurt is a Home & Property Research Journalist who researches and writes educational content on home services, property improvement, and residential decision-making. He focuses on translating real-world contractor experience, industry standards, and verified research into clear, practical guidance that helps homeowners understand their options and make informed decisions.